Create an Object
Objects are the building blocks of a scene: shapes, pictures, text, buttons… everything you see in the game window is an object. This guide shows how to add an object and how to set its properties.
Add an Object
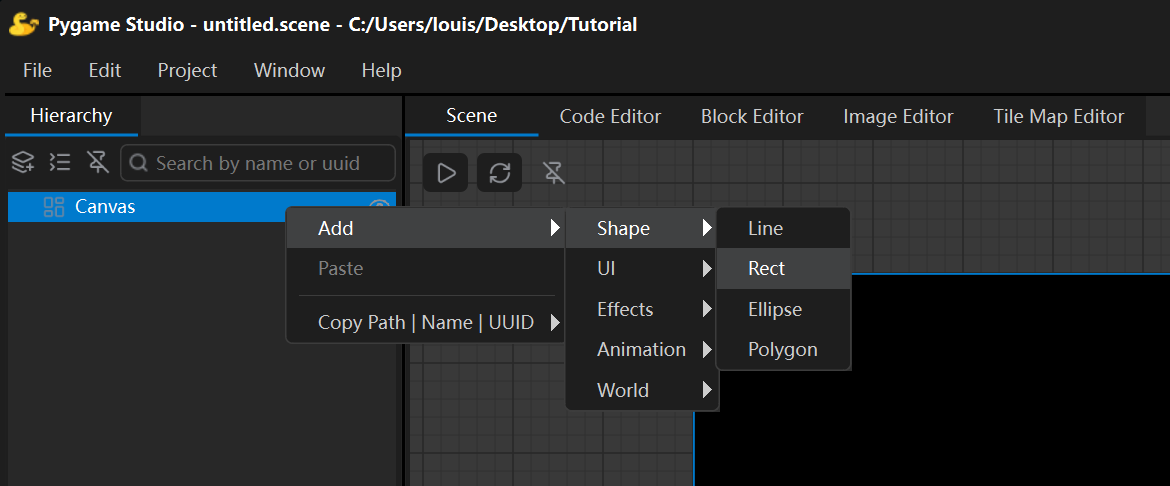
Section titled “Add an Object”Objects are all created in the Hierarchy panel in the upper-left corner of the editor. Right-click in the Hierarchy panel or click the Add button in the upper-left corner, then pick one of the objects in the menu.
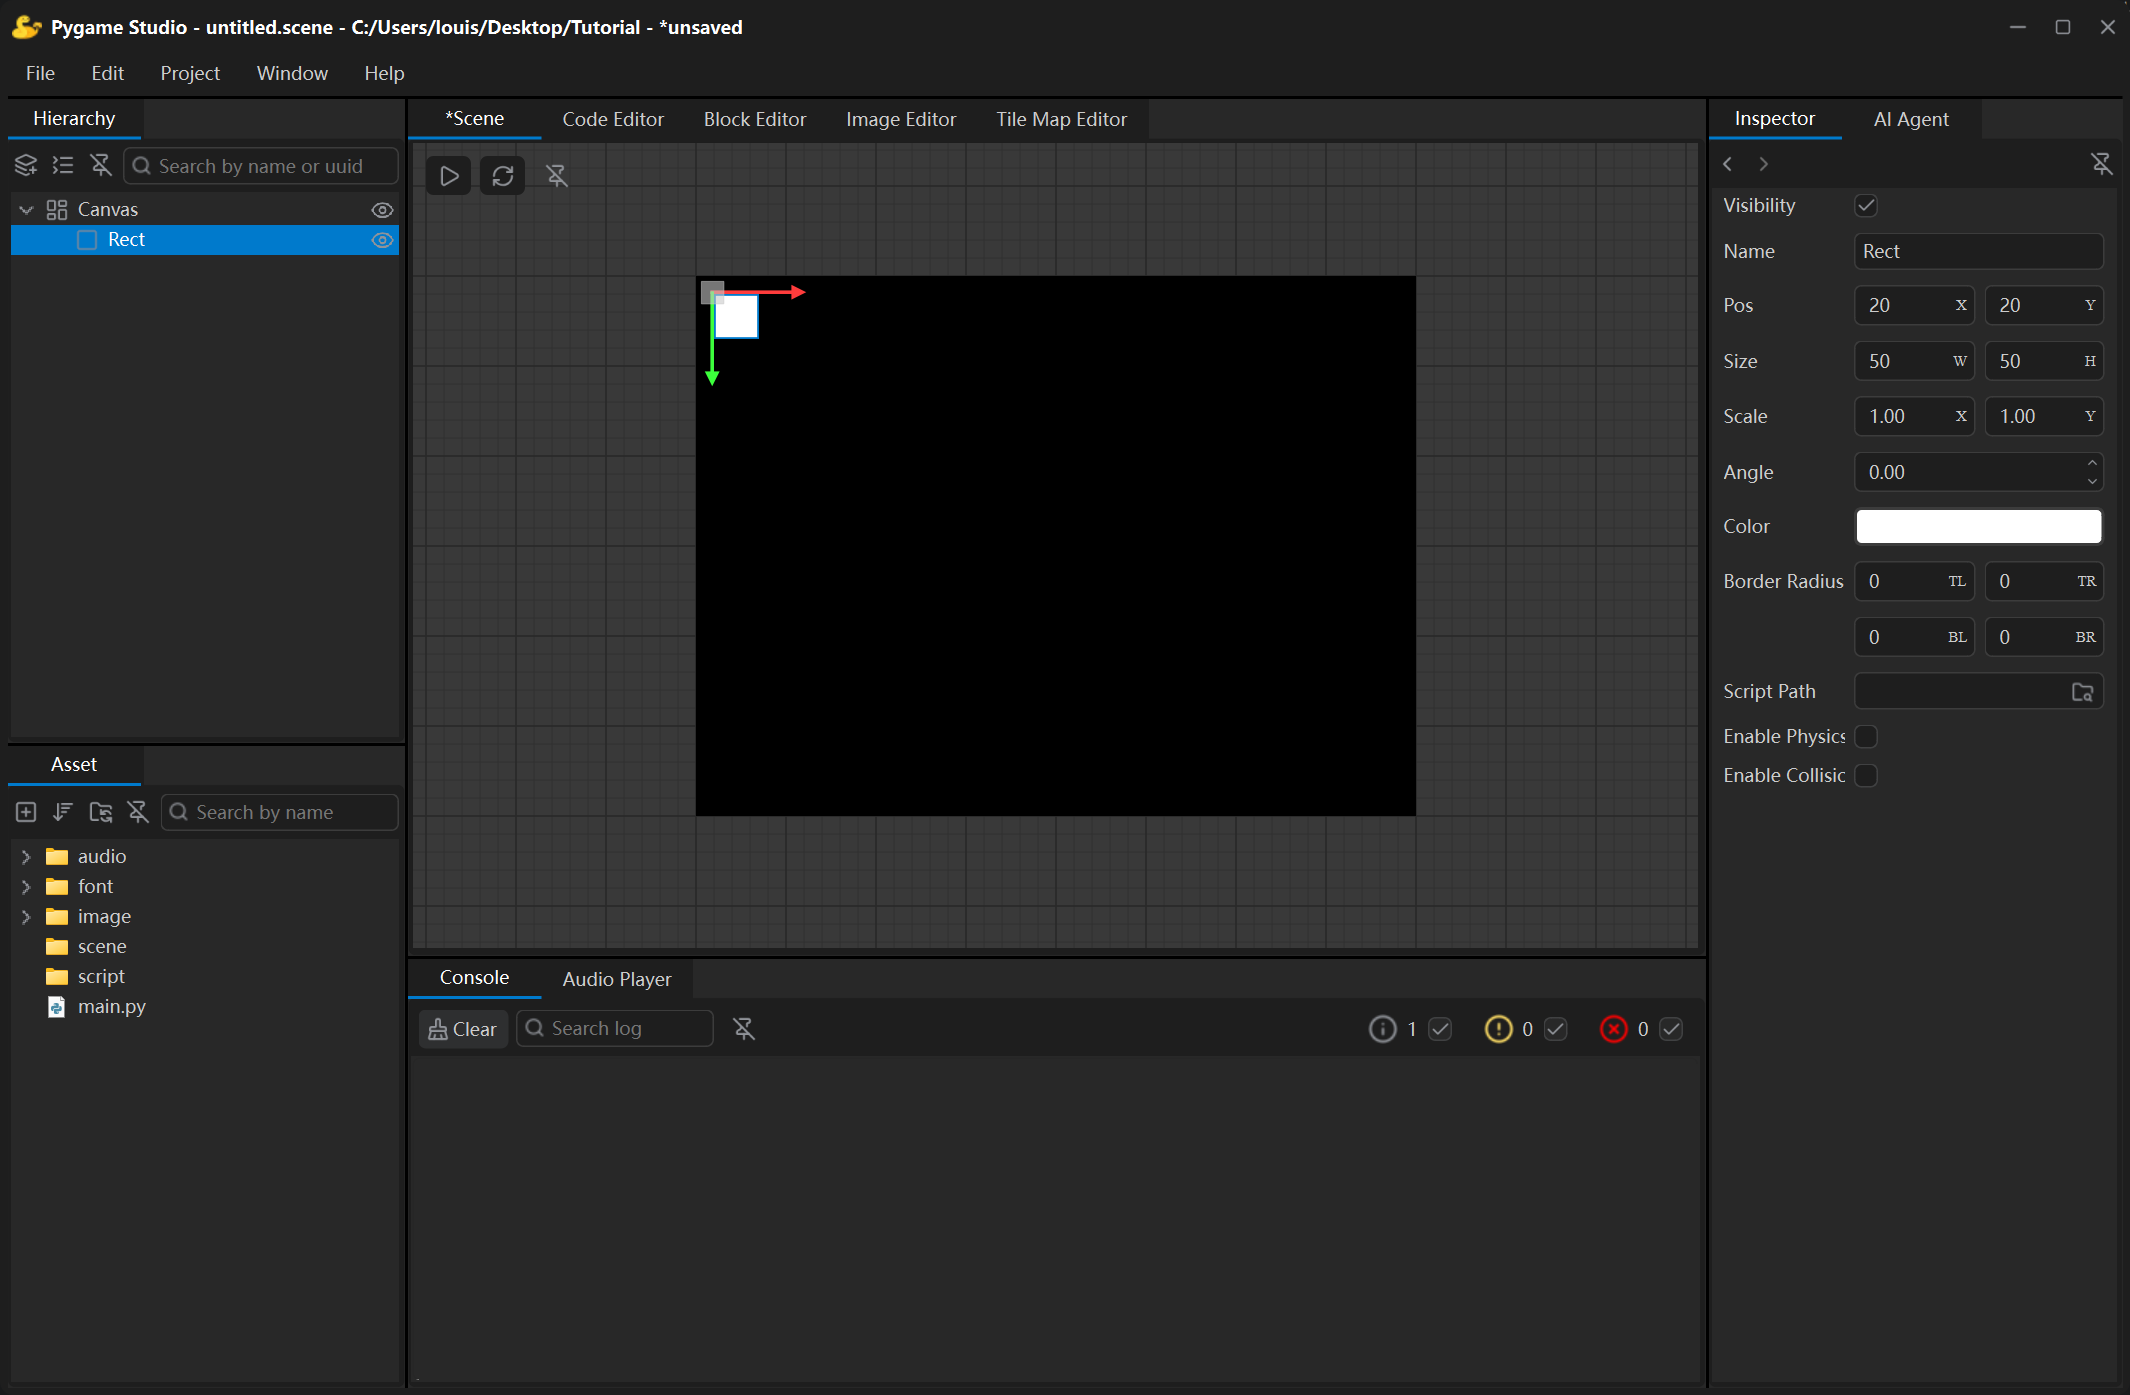
The new object is inserted below the selected object, becomes selected automatically, appears in the scene at its default position (20, 20), and its properties show up in the Inspector on the right at the same time.
Rename It
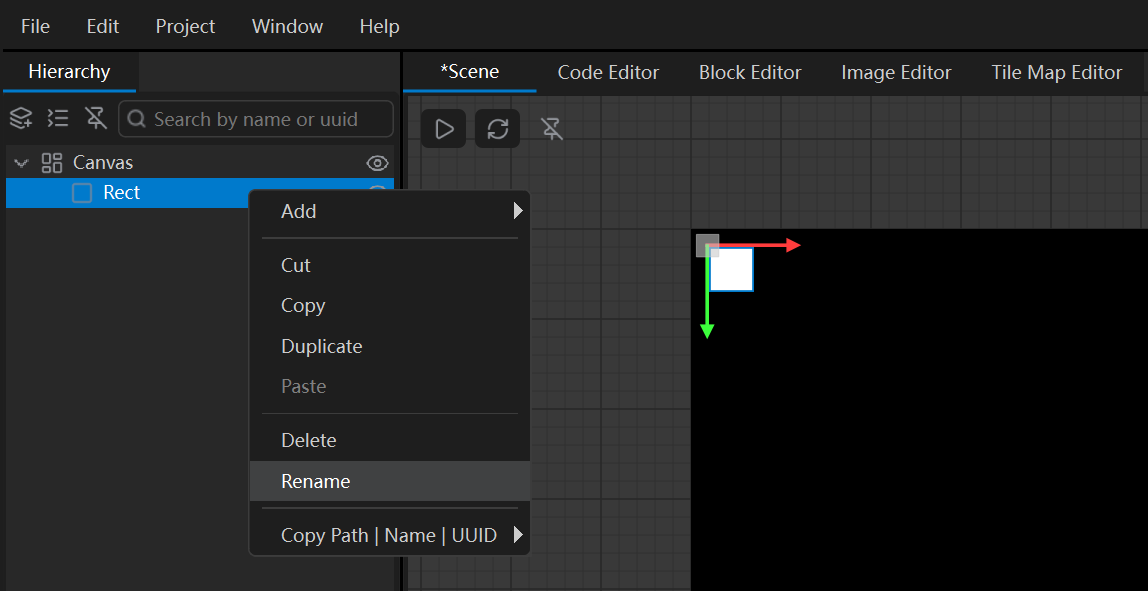
Section titled “Rename It”After adding it you can give the object a meaningful name, for example Player, Enemy, Ground — it will be much easier to find later in the Hierarchy and the Inspector. There are two ways to rename it:
- right-click the object in the Hierarchy panel and choose Rename
- type the new name into the Name row of the Inspector
Change Position and Other Properties
Section titled “Change Position and Other Properties”Click the object in the scene, then press and hold the gizmo in its upper-left corner to drag the object and change its coordinates. When it lines up with the edge or the center of another object (or of the Canvas itself), a magenta smart guide appears so the object snaps into tidy rows and columns.
Alternatively, change the Pos property in the Inspector to change the object’s coordinates on the Canvas.
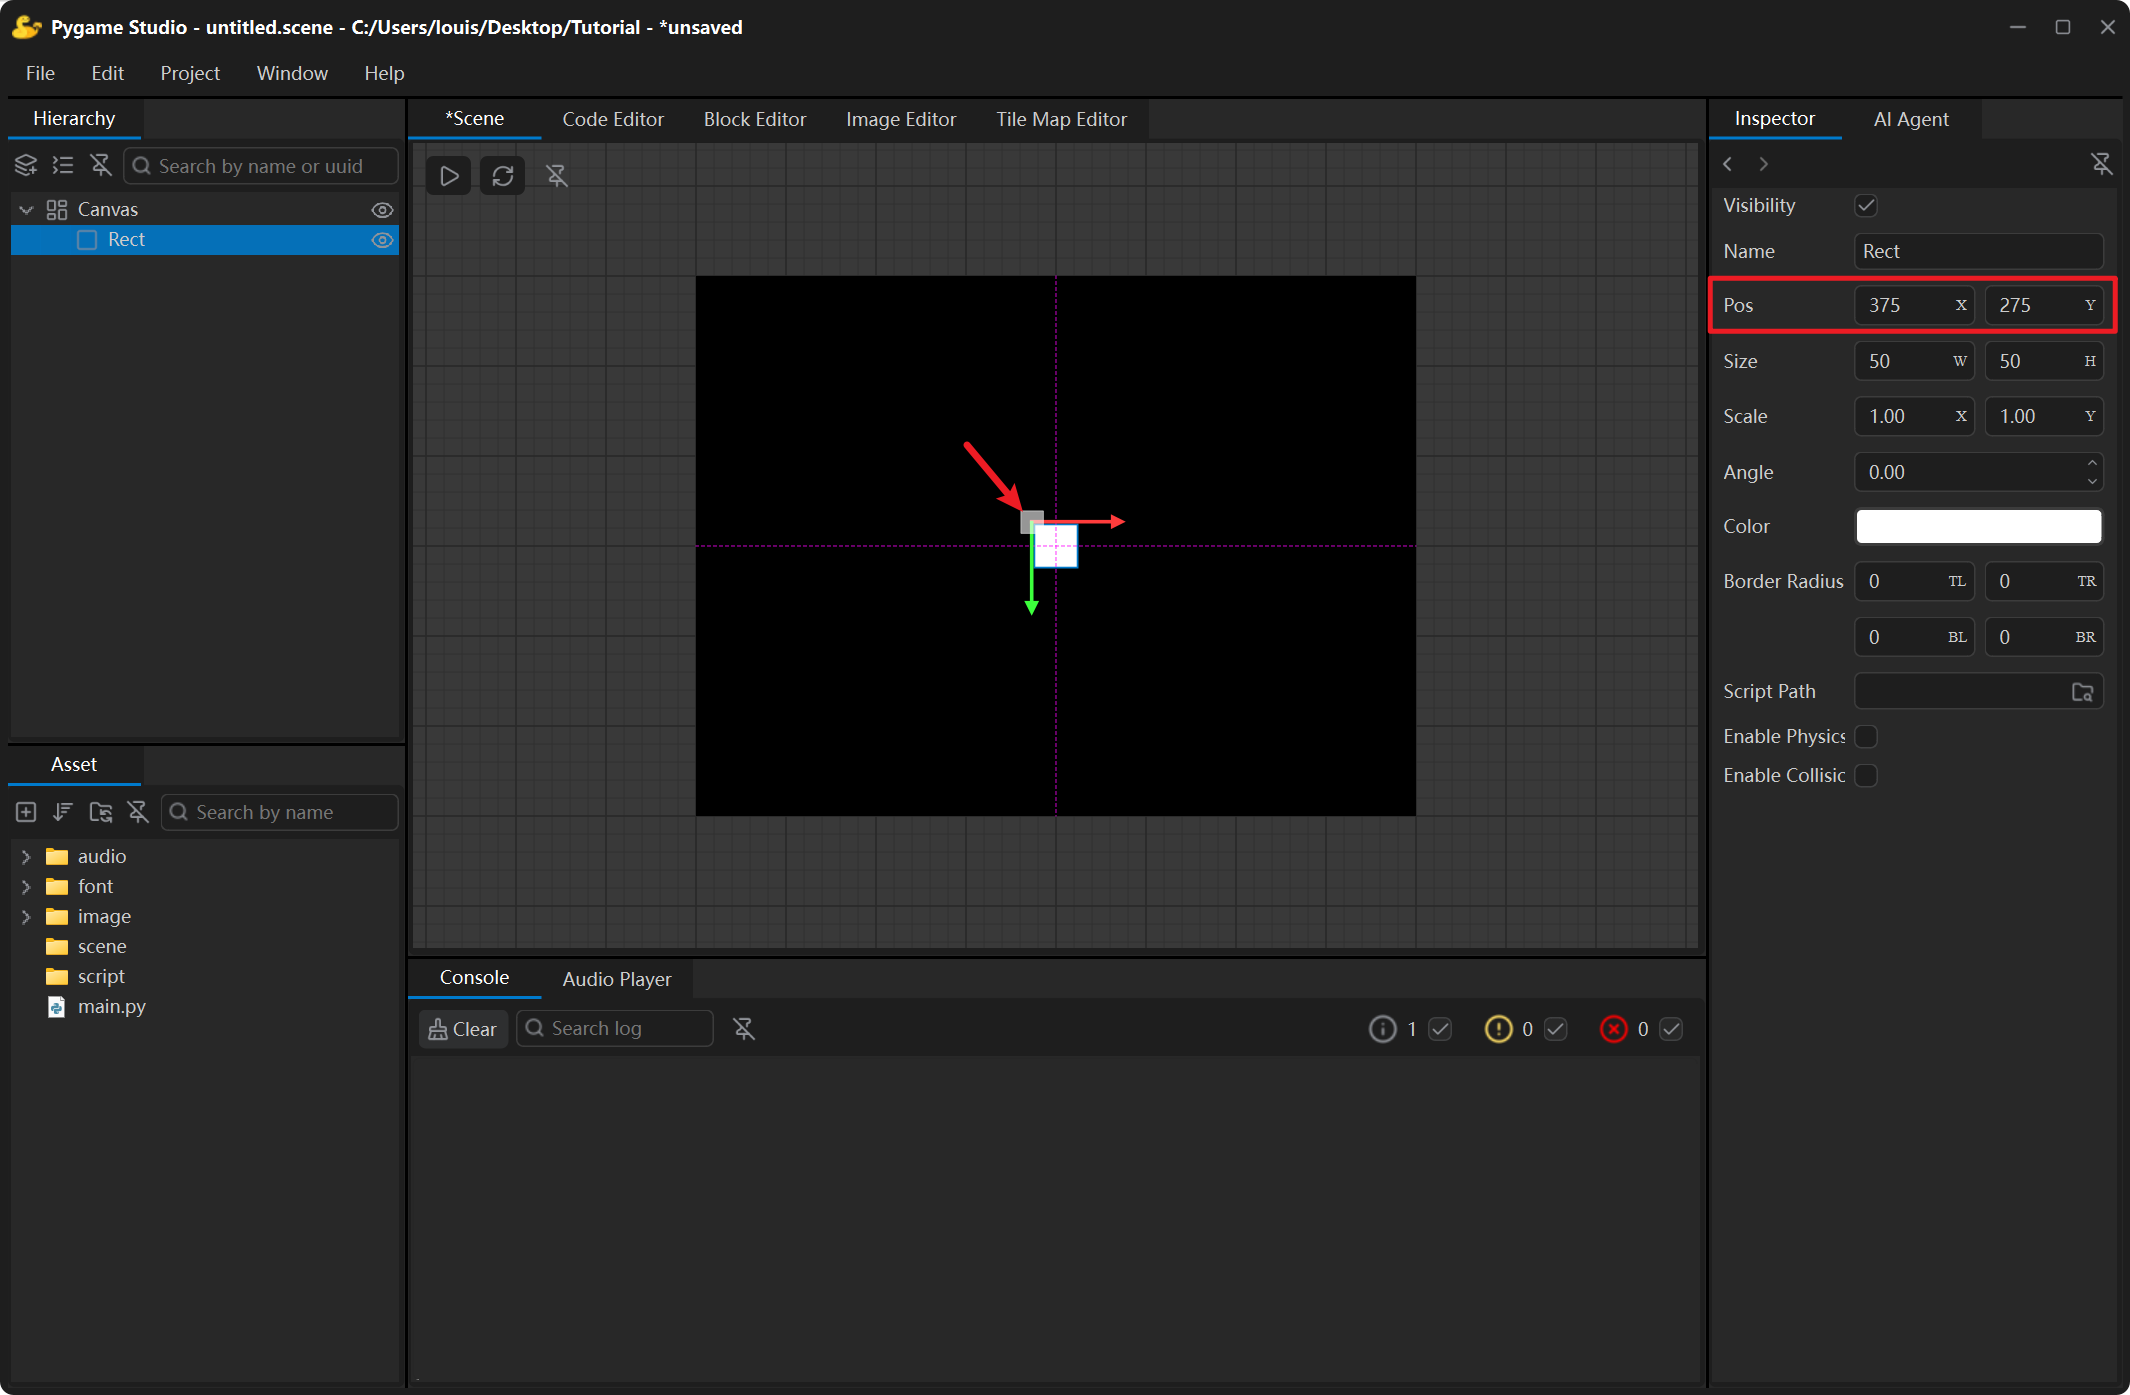
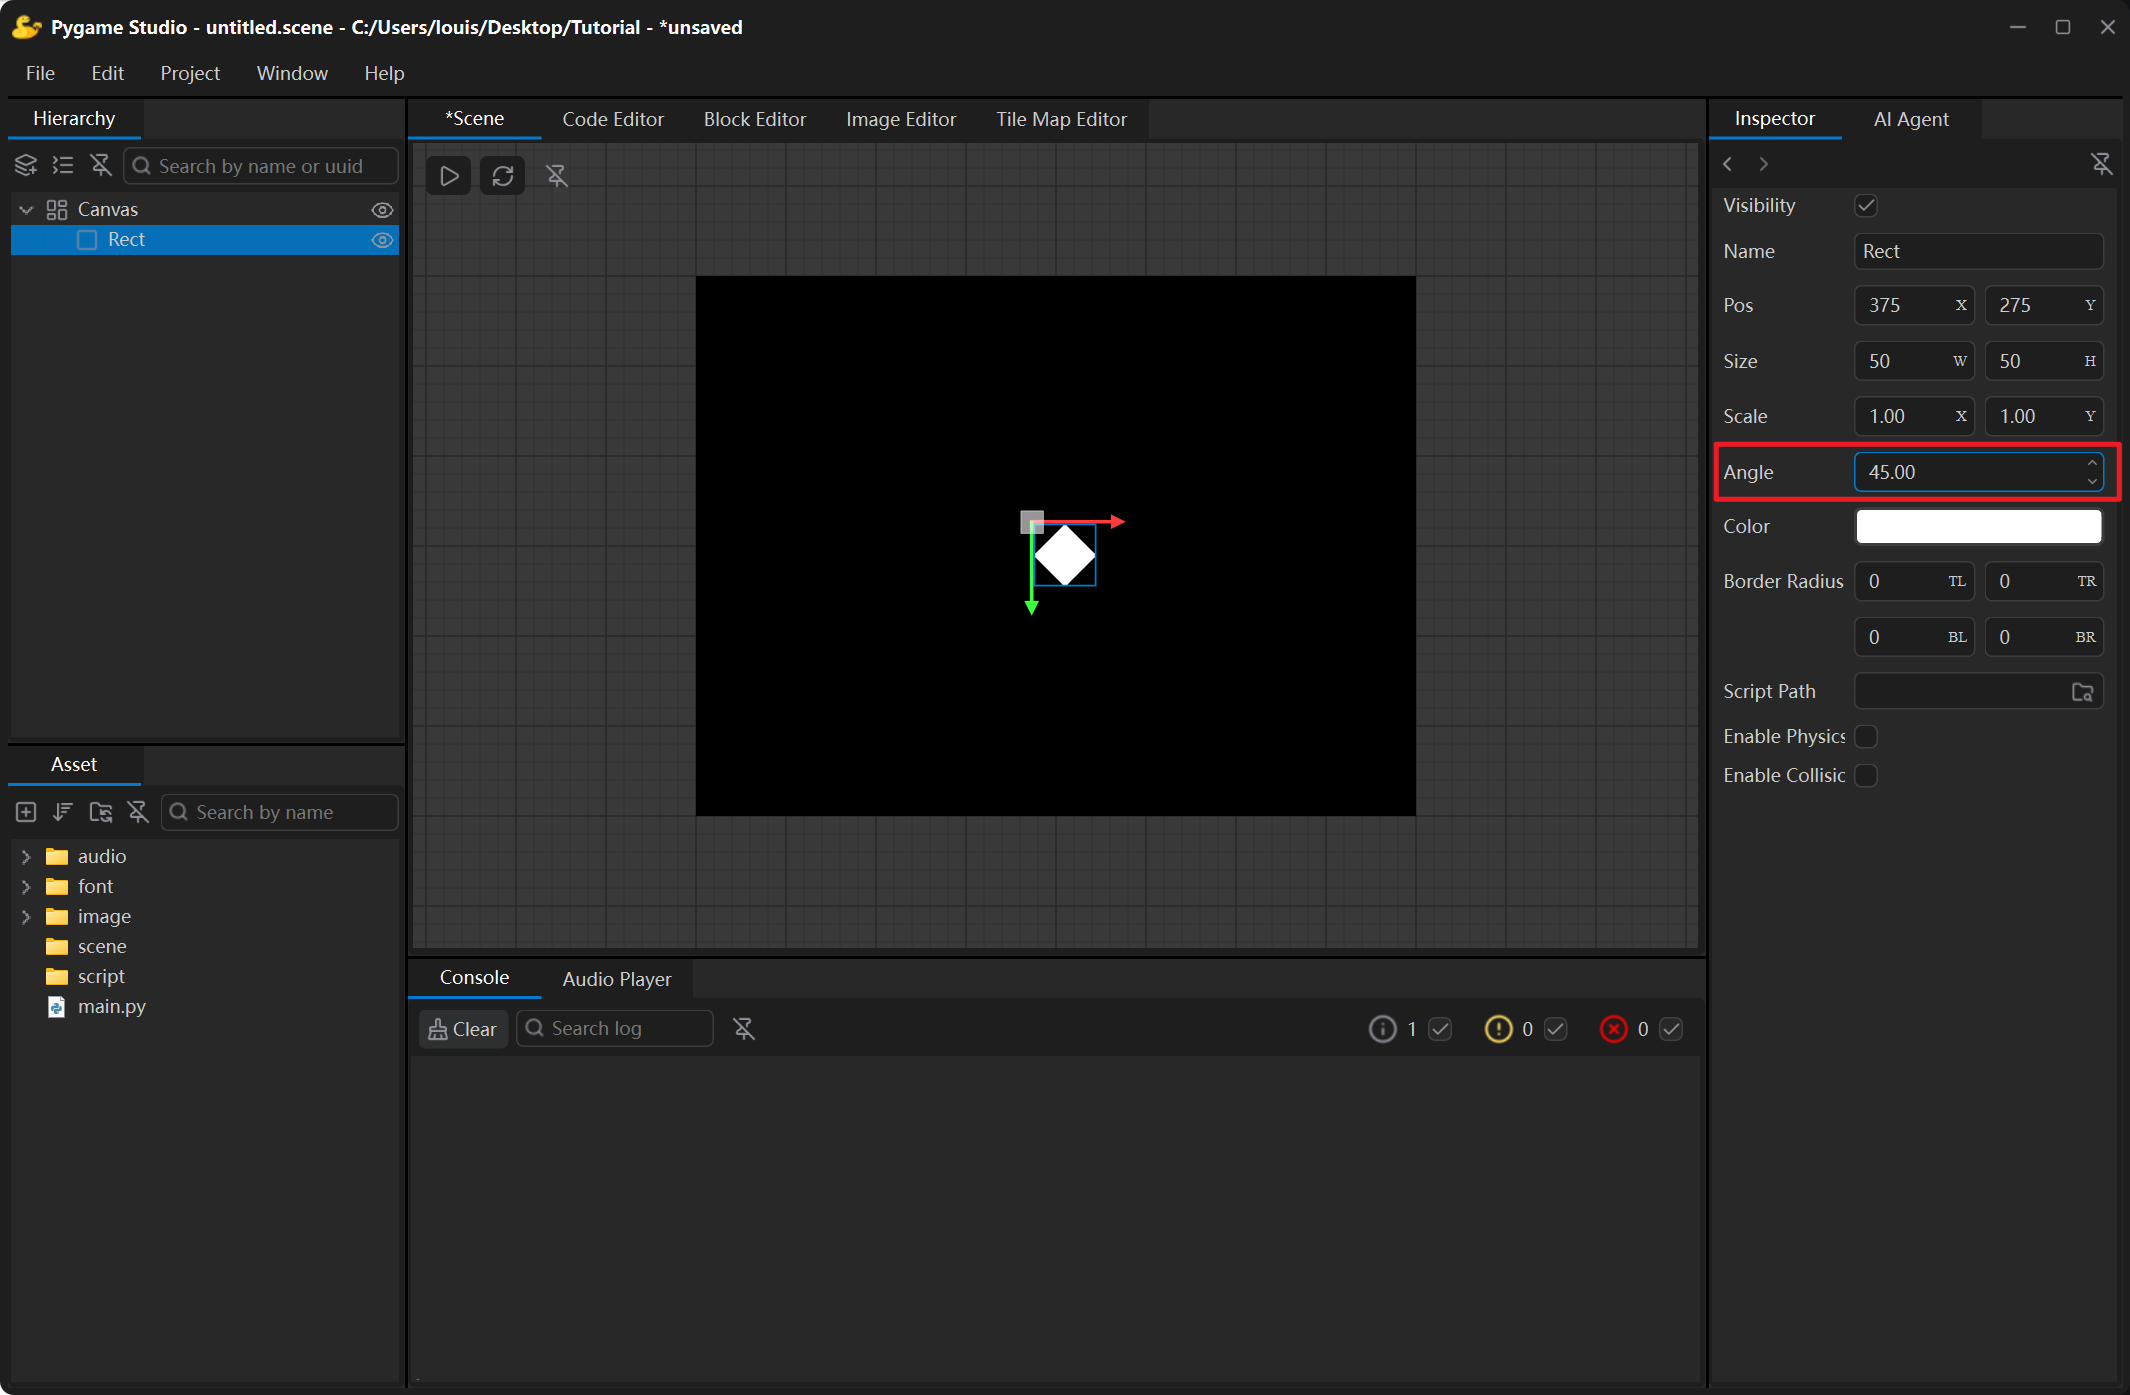
Besides Pos, all the other properties of the object can also be changed in the Inspector; to rotate an object, for example, you only need to set its Angle property.